For how to waterproof wood furniture for outdoors let’s use the adirondack chairs for this project. The wood for this chair is untreated. So if you are dealing with untreated wood please follow along. If you are using some other outdoor wood furniture for this project that has no holes or cracks in them, you can just jump to step two.
Project materials needed.
a) Wood filler
b) Sand paper
c) Minwax helmsman spar polyurethane
d) Hand gloves
[fvplayer id=”16″]
- We have to finish the untreated wood for outdoor use before we start the project proper. We all know the biggest enemy to outdoor furniture is of course the elements. We can do nothing about the elements (weather), they’re going to win every time when our furniture is exposed to elements.
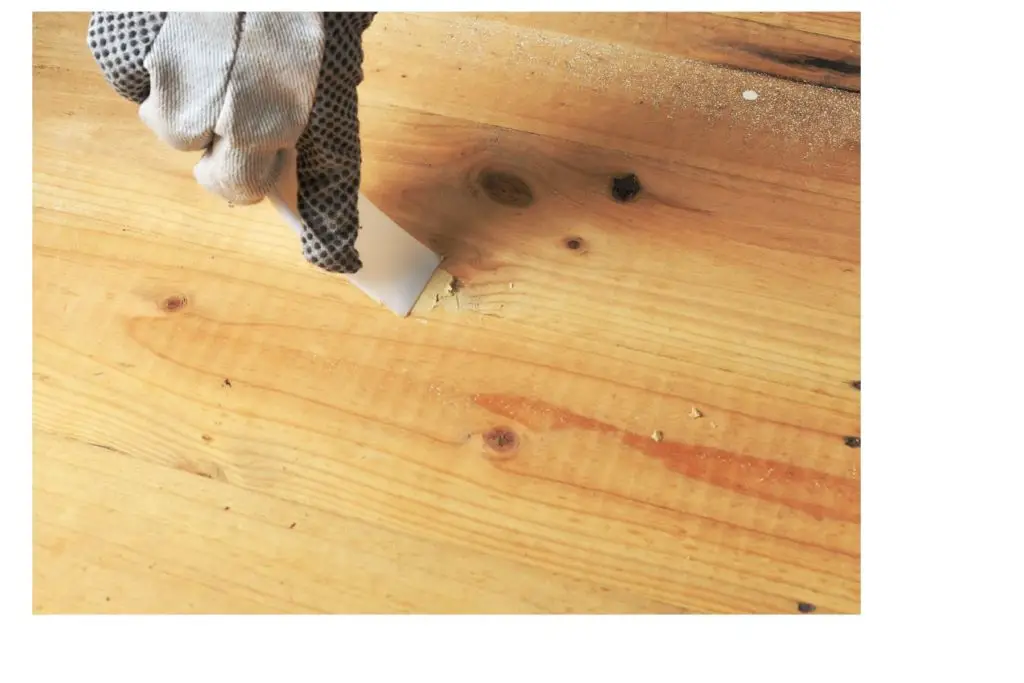
2. The first step in this project is to actually fill up the holes in the chairs. If you don’t have holes in yours then you don’t need to. When you have holes like that in your wood it actually gives a place for water to collect and that can damage your wood and if you are in an area that has freeze thaw cycles, the expansion and contraction from freezing water can also split your wood.
3. After the wood filler has had enough time to dry, go back with a sander and touch up those spots with a 220 grit sandpaper just to smooth out that surface.
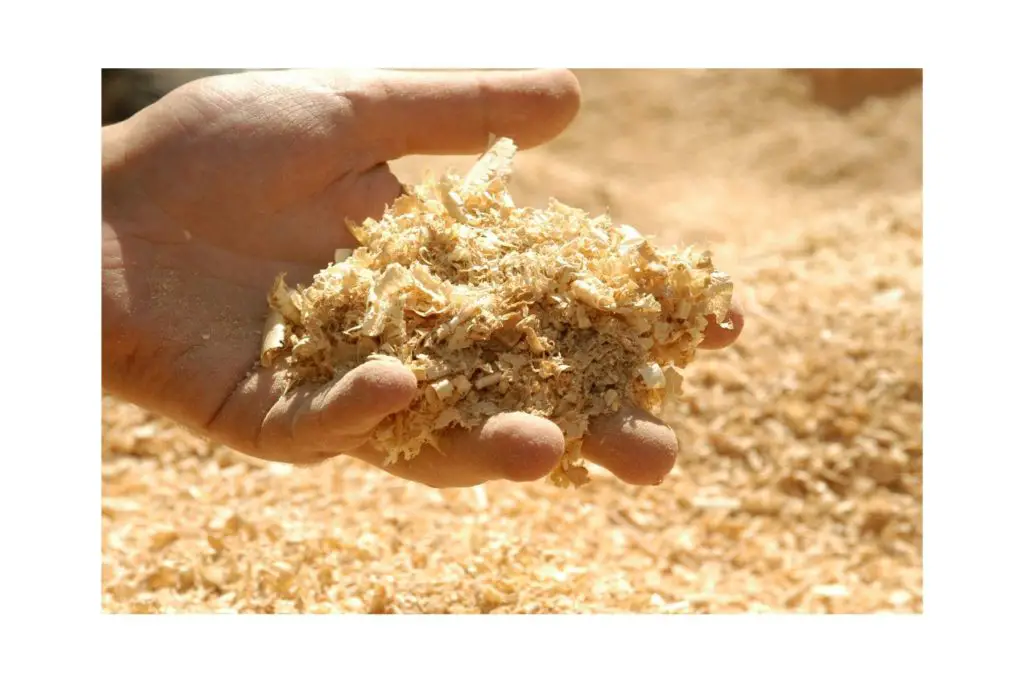
4. Then take the chair and wipe off all extra sawdust from the sanding process just to make sure that the finishes that you apply to the chair have a great surface to adhere to. Another important note is that when you’re going to stain or paint you want to make sure that your wood surfaces are ready to accept those materials and oftentimes if the wood’s very smooth you do need to hit it with some level of sandpaper.
5. It is always good to pre-stain these kind of projects before you stain them. So just follow the directions on the can, to do that one time and wipe off the excess. However, keep in mind that when you pre-stain you have very limited time to apply the stain for that pre-stain to be effective.
6. So after you have pre-stained, move on to use your preferred stain. One of the best stain for this kind of project is a dark walnut stain. It’s an oil-based stain from Minwax. If you are using a new stain for the first time and you are not sure of the color, test it out on a small and hidden part of the object you are going to apply the stain on. Stain becomes a part of the wood once applied. It’s not like paint where it is just on the surface. When you stain something it’s actually part of that wood and if you want to go back it is very difficult, short of sanding down a ton of wood to get that stain out or putting something like paint over it to cover it up so make sure before you really get into a project that you’re happy with the color of that stain before you proceed.
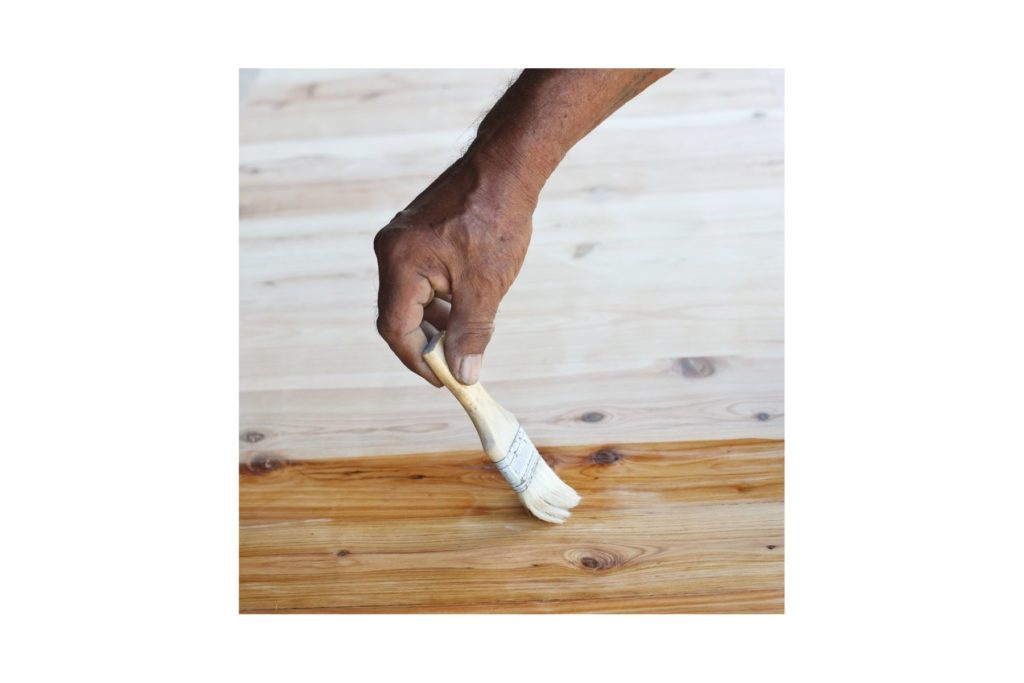
7. So with your gloves on, apply the stain using a brush and give it some time to soak in. Not very long though maybe at most five minutes and then you go back and you wipe off the extra stain, the excess stain that did not absorb into the wood in order for it not to set up on the wood and give it kind of a sticky film. So you just want to make sure that you’re wiping off that extra stain so that your final product turns out well.
8. Make sure that all the surfaces were covered by working in small sections. So just go back and forth and touch up certain areas to make sure there are no lines or streaks. You can do this with a cloth to rub it in you can do this with a brush to get in really tight areas.
9. This next step is very important. So you want to make sure the chairs or your object have time to set. But what really protects your wood from the elements is going to be the finish. The protective coating that you put on top of it. One very good product to use for the finish is the Minwax helmsman spar polyurethane. You do have to reapply it from time to time. Say two three year time frame just because the sun beats down on it, the elements beat down on it and wears it down and you’ve got to apply some extra coats. This has just very good resistance it withstands the elements very well unlike some of those other products that are meant for indoor applications.
10. Please pay special attention to areas that are directly exposed to rain and sun. Apply two coats on these areas and one on areas that are hidden from these elements.
That is it. Go out and finish a wood project for yourself for the great outdoors. Using this tutorial, you’ll be thankful that you did. And you can protect all your outdoor wood furniture in good condition for a long time.

Author: Saleh Ibrahim